Install Coundown Cart here to boost up your online sales!
There are 2 widgets of Countdown Cart app placed below your Add-to-cart button by default. They are Countdown Timer and Stock Countdown.

There are two ways to change the widgets position. You can use either auto change or handicraft.
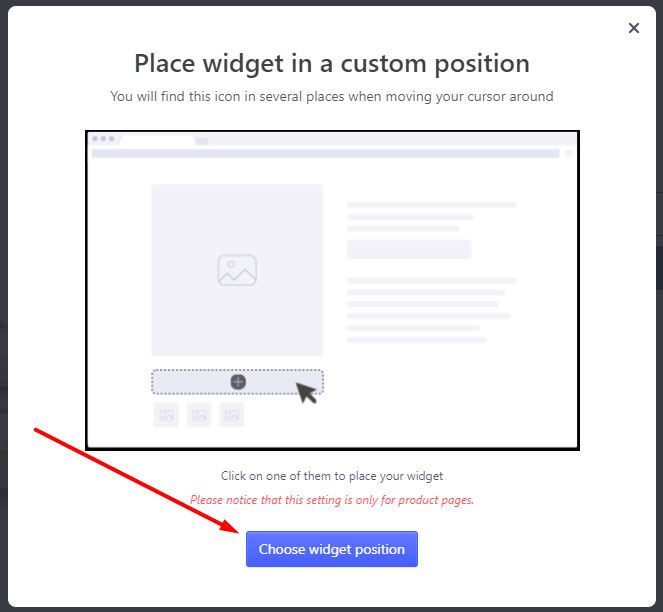
Solution 1: Go to Countdown Cart back-end >> Access Countdown Timer or Stock Countdown tab >> Click Wanna place it in a custom position


Solution 2: Use the handicraft to create a custom widget position.
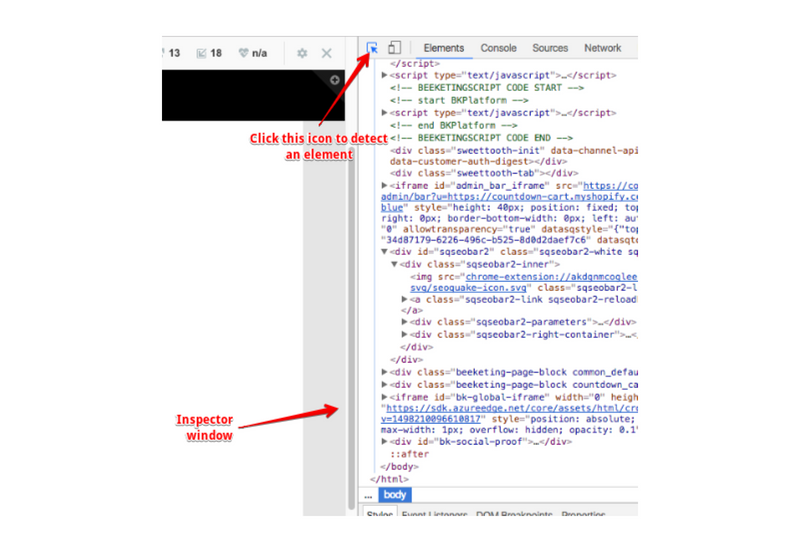
Step 1: Use browser inspector to find The ID or Class Name of an element
The browser inspector is a browser feature that allows you to view specific snippets of a web page element’s HTML and CSS. You can isolate specific elements or tags and view the corresponding CSS styles to easily test changes as well as copy the code for customization.
On your product page: Right click >> Click Inspect >> You will see the Inspector Window of your Product page

This is the Inspector Window: Click on the icon in the upper left corner to inspect an element of the page
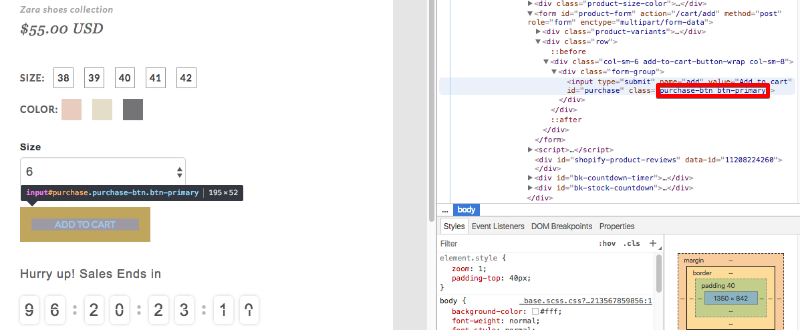
For example, if you want to detect the Add to Cart button, just hover over it while opening the Inspector Window, the specific snippets of the Add To Cart button will be highlighted. Here you can find Add to Cart button's ID/Class as circled in red as below. Because we need the button's ID and class, here you should copy it to your clipboard for later use.
Step 2: Enter the Class/ID found in Step 1 to the box
NOTE:
- Add "#" (hash) before the ID or "." (dot) before the class before entering it in the box. For example:
.product-form-product-templateor
#product-details - If the element has both ID and Class, please add #ID to the box
If the element has only ID or Class, please add #ID or .Class to the box
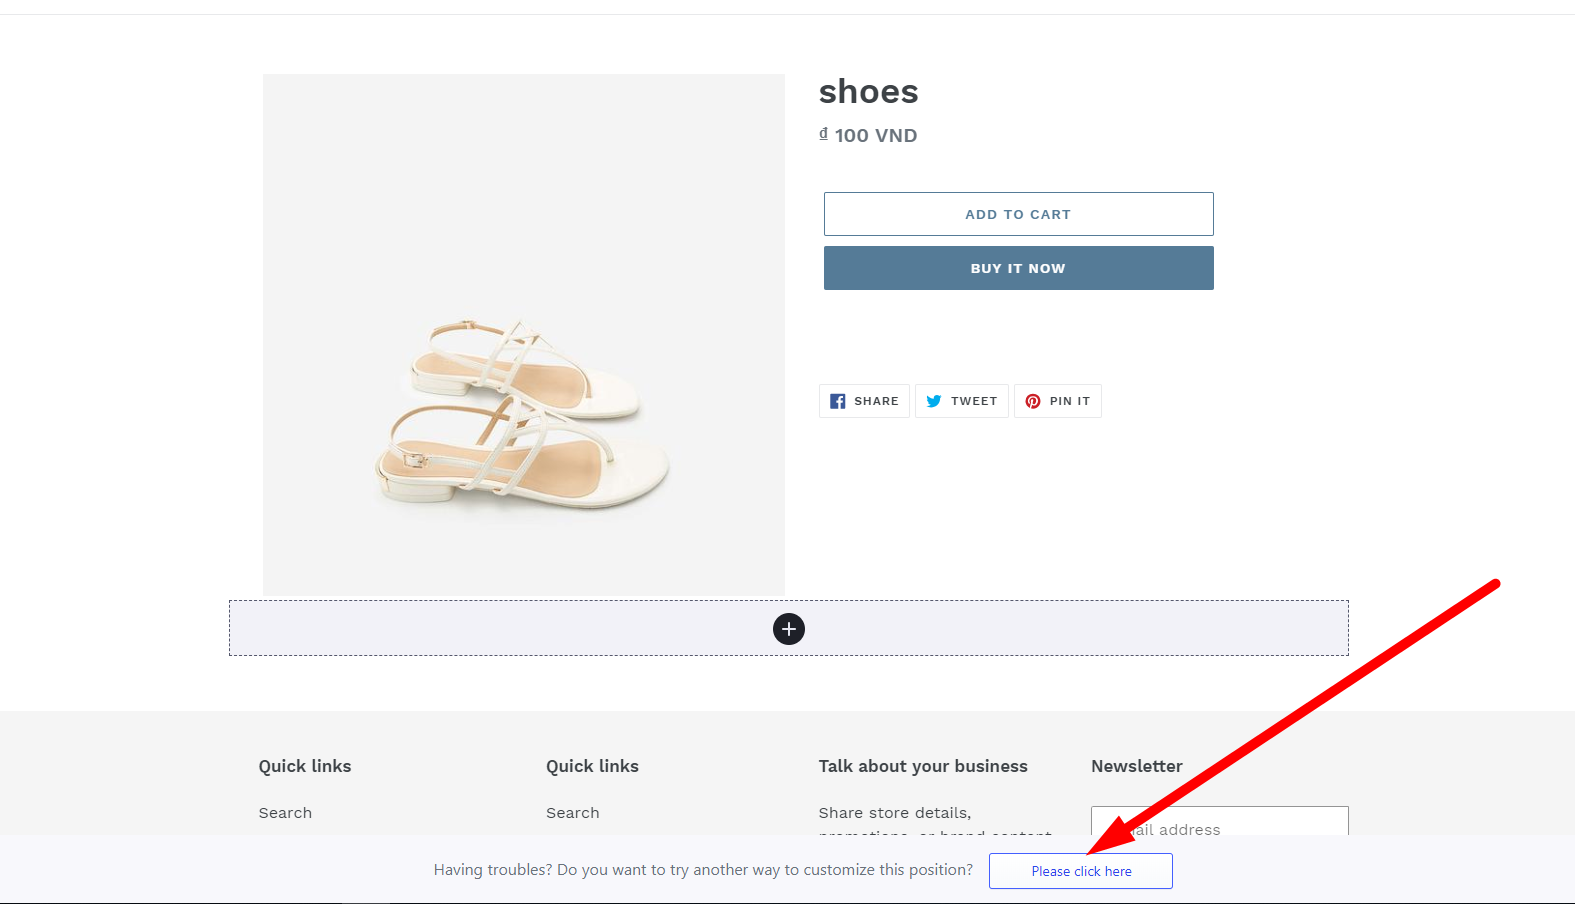
To open the customizable pop-up, kindly go to your store dashboard >> click Wanna place it in a custom position >> then click "Please click here" button as below:
Finally, please hit Confirm button to complete the setting and refresh your product page to check the result.

Please note that in some cases, the instruction might not work due to the specialty of your theme. Feel free to contact [email protected] if you need any further assistance.